
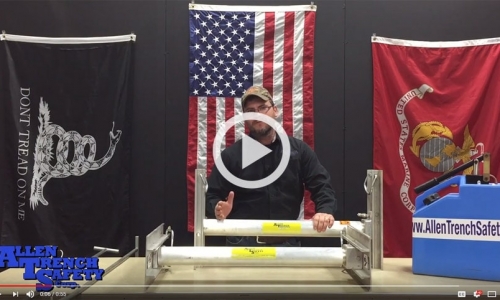
Talking Hydraulic Vertical Shores with Chris Allen
Over at Allen Trench, the parent company of Hydraulic Vertical Shores, we recently uploaded a few videos about our products to our YouTube channel. Committed to ensuring our customers are fully comfortable with their new trench safety equipment, we are continually looking for ways to educate and inform. Whether we’re writing blog posts about our new Badger Box trench boxes or we’re creating video walkthroughs, you can always count on the team at Allen Trench Safety to provide you with the information that you need to get the most out of your equipment!
Here’s the script for our video on assembling our hydraulic vertical shores:
Hey, Chris Allen for Allen Trench Safety!
Today we will be assembling a hydraulic vertical shore with a 3.5 rail. Now, the 3.5’ 5’ and 7’ rails all have double cylinders meaning they have two hydraulic vertical shores pushing in tandem against the rails.
These hydraulic shores are connected by a 1/4” hydraulic hose, allowing both vertical shores to be connected to the pump can by one quick connect. We will be following many of the same steps covered in the assembling of the hydraulic vertical shores on the 1.5 rails, we’ll just be doing them twice because we have two cylinders.
So, lets begin!
First, we need to connect the hydraulic vertical shores together using the 1/4” hydraulic hose. Then, lay the 3.5 rails out flat with the handles facing in the same direction. Now, place the base of the cylinder pad into the rail with the holes closest to the handles, then slide the pins in place and secure them with a circle cotter. Next, place the top rail on and place the pins through the second hole in the push pad and then secure them with the circle cotter.
With the hydraulic vertical shore completely assembled there should be a scissor motion allowing it to fold down for easier installation in to the trench.
That’s all for today, stay tuned for more with Allen Trench Safety!
And here’s a script for our video on adding extensions to your vertical shores:
Hey, Chris Allen here for Allen Trench Safety!
Today we’ll be adding extensions to our hydraulic vertical shores.
In front of us we have a 52-88 hydraulic vertical shore on a 1.5 rail, which has a working range of 52”- 88”. We will be adding a 24” extension, creating a new working range of 76”-112”.
There are just a few simple steps to this process and it really is a great way to add a lot of versatility to your fleet at a fraction of the cost.
First, let’s remove the socket pad with the 1.5 rail attached to it. You can remove the rail if you wish but it will add another step in assembling your hydraulic vertical shore. Once we have the socket pad removed, we will slide the over sleeve off the hydraulic vertical shore. Then, we will slide our 24” extension over the Hydraulic vertical shore were the over sleeve previously had been. Next, line up the holes in the 24” extension with the holes in the piston and slide the pins in place. Then, place the socket pad with the 1.5 rail still attached, onto the end of the 24” extension and pin it in place. Now you have a working hydraulic vertical shore!
That’s all for today, stay tuned for more with Allen Trench Safety!
We hope you’re enjoying our videos and finding them informative! For more videos and scripts, we encourage you to check out our YouTube channel! Bear in mind, manufacturer’s tab data should always be followed and consulted before adding or taking away from any piece of shoring equipment. Every job site should have a designated competent person who is capable of evaluating the dangers of excavations. If you have any questions about our videos or products, please don’t hesitate to reach out to us!